Hasura Backend
A personal collection of Hasura.io Backend related information for easy review.
PLEASE NOTE!
This is Work-in-Progress so contents are incomplete and possibly wrong. Apologies!
Authorization
Auth0
Navigate to the Auth0 Dashboard
Login to the account
Create a new tenant.
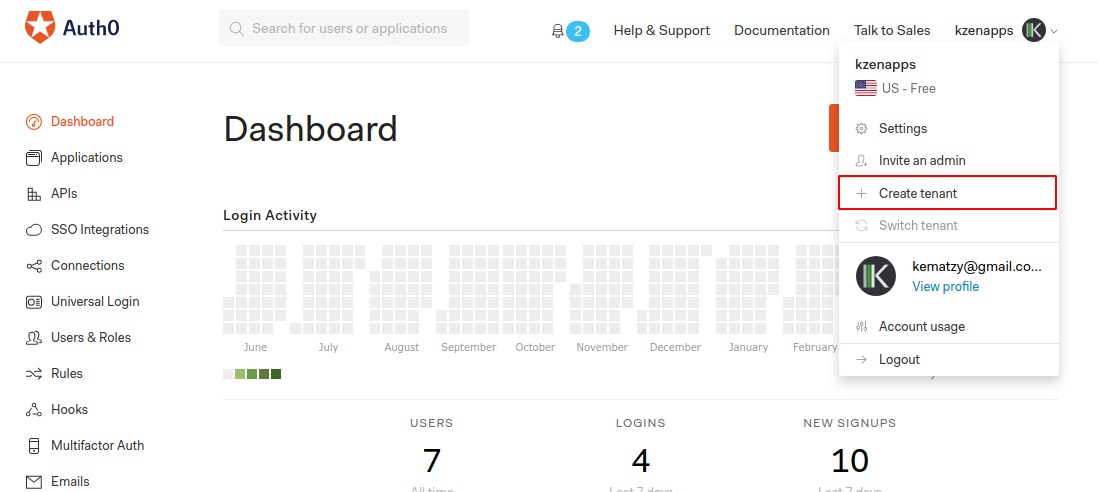
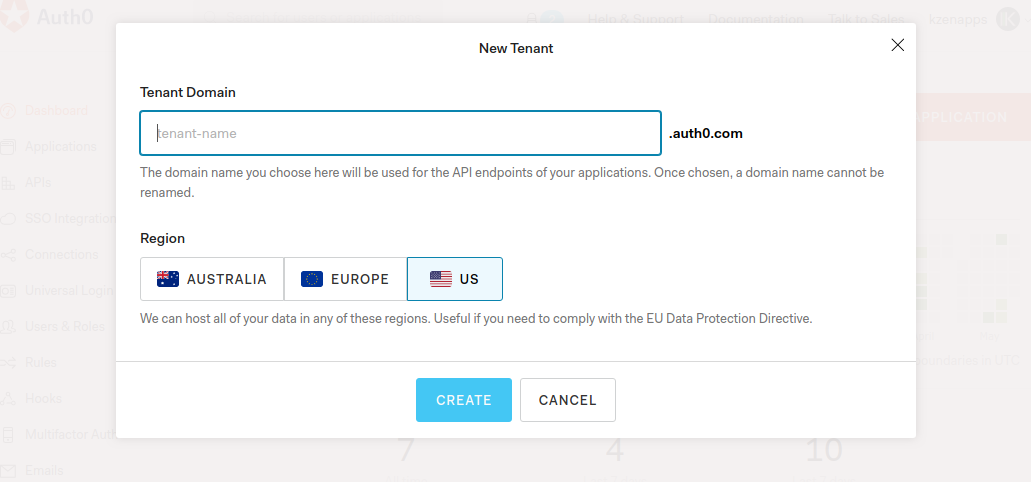
- Click on the
Applicationsmenu option on the left and then click the+ Create Applicationbutton.
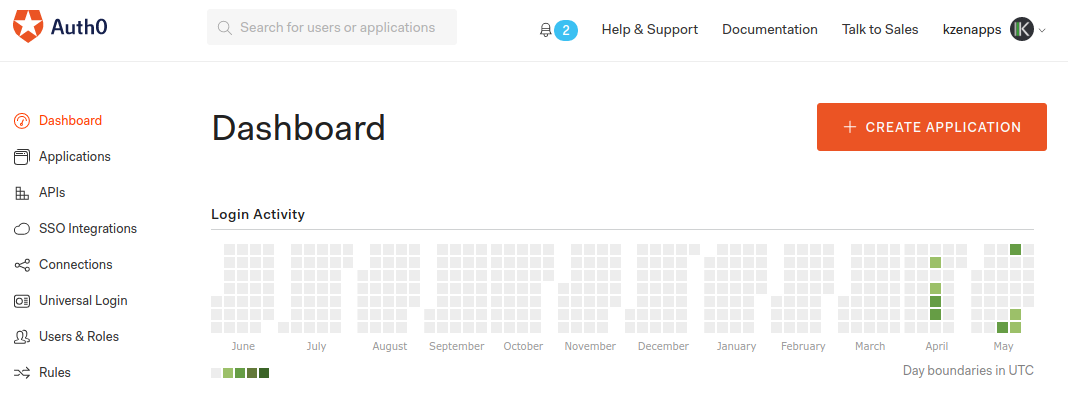
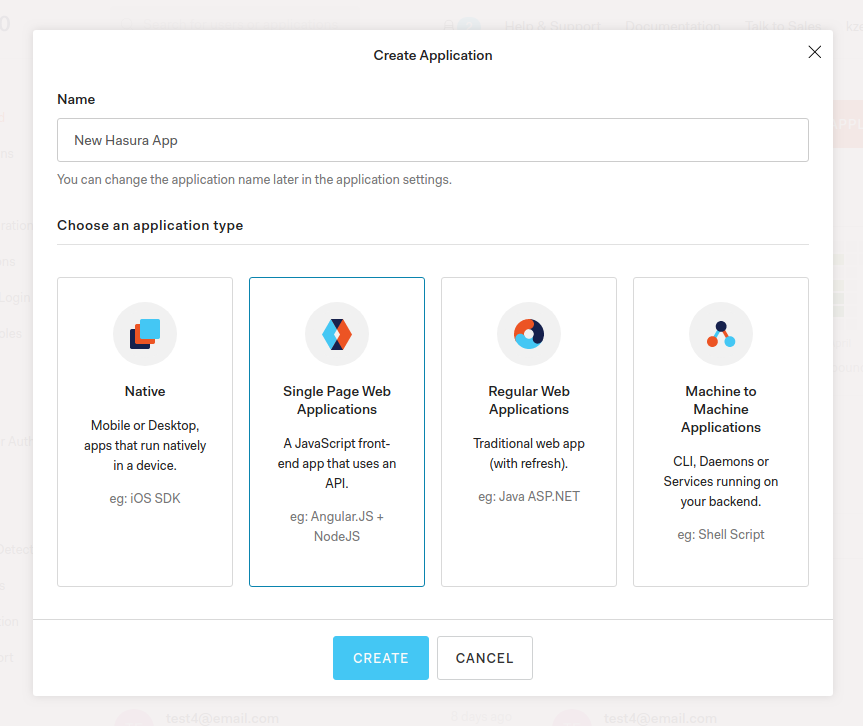
- In the Create Application window, set a name for your application and select
Single Page Web Applications. and selectVue.
- In the Settings of the application, add the appropriate URLs (e.g:
http://localhost:3000/callback) in the Allowed Callback URLs and Allowed Web Origins fields.
Add Multiple URLs
You can add multiple URLs for the app as a comma-separated list. ie: http://localhost:3000/callback, https://myapp.com/callback.
Add Rules for Custom JWT Claims
Custom claims inside the JWT are used to tell Hasura about the role of the visitor/user, so that Hasura may enforce the necessary authorization rules to decide what the caller can and cannot do.
In the Auth0 dashboard, navigate to the Rules section.
Add the following rule to add our custom JWT claims under hasura-jwt-claim:
function (user, context, callback) {
  const namespace = "https://hasura.io/jwt/claims";
  context.idToken[namespace] =
    {
      'x-hasura-default-role': 'user',
      // do some custom logic to decide allowed roles
      'x-hasura-allowed-roles': ['user'],
      'x-hasura-user-id': user.user_id
    };
  callback(null, user, context);
}
2
3
4
5
6
7
8
9
10
11

Connect Hasura with Auth0
In this part, you will learn how to connect Hasura with the Auth0 application that you just created in the previous step.
We need to configure Hasura to use the Auth0 public keys. An easier way to generate the config for JWT is to use the following link - https://hasura.io/jwt-config
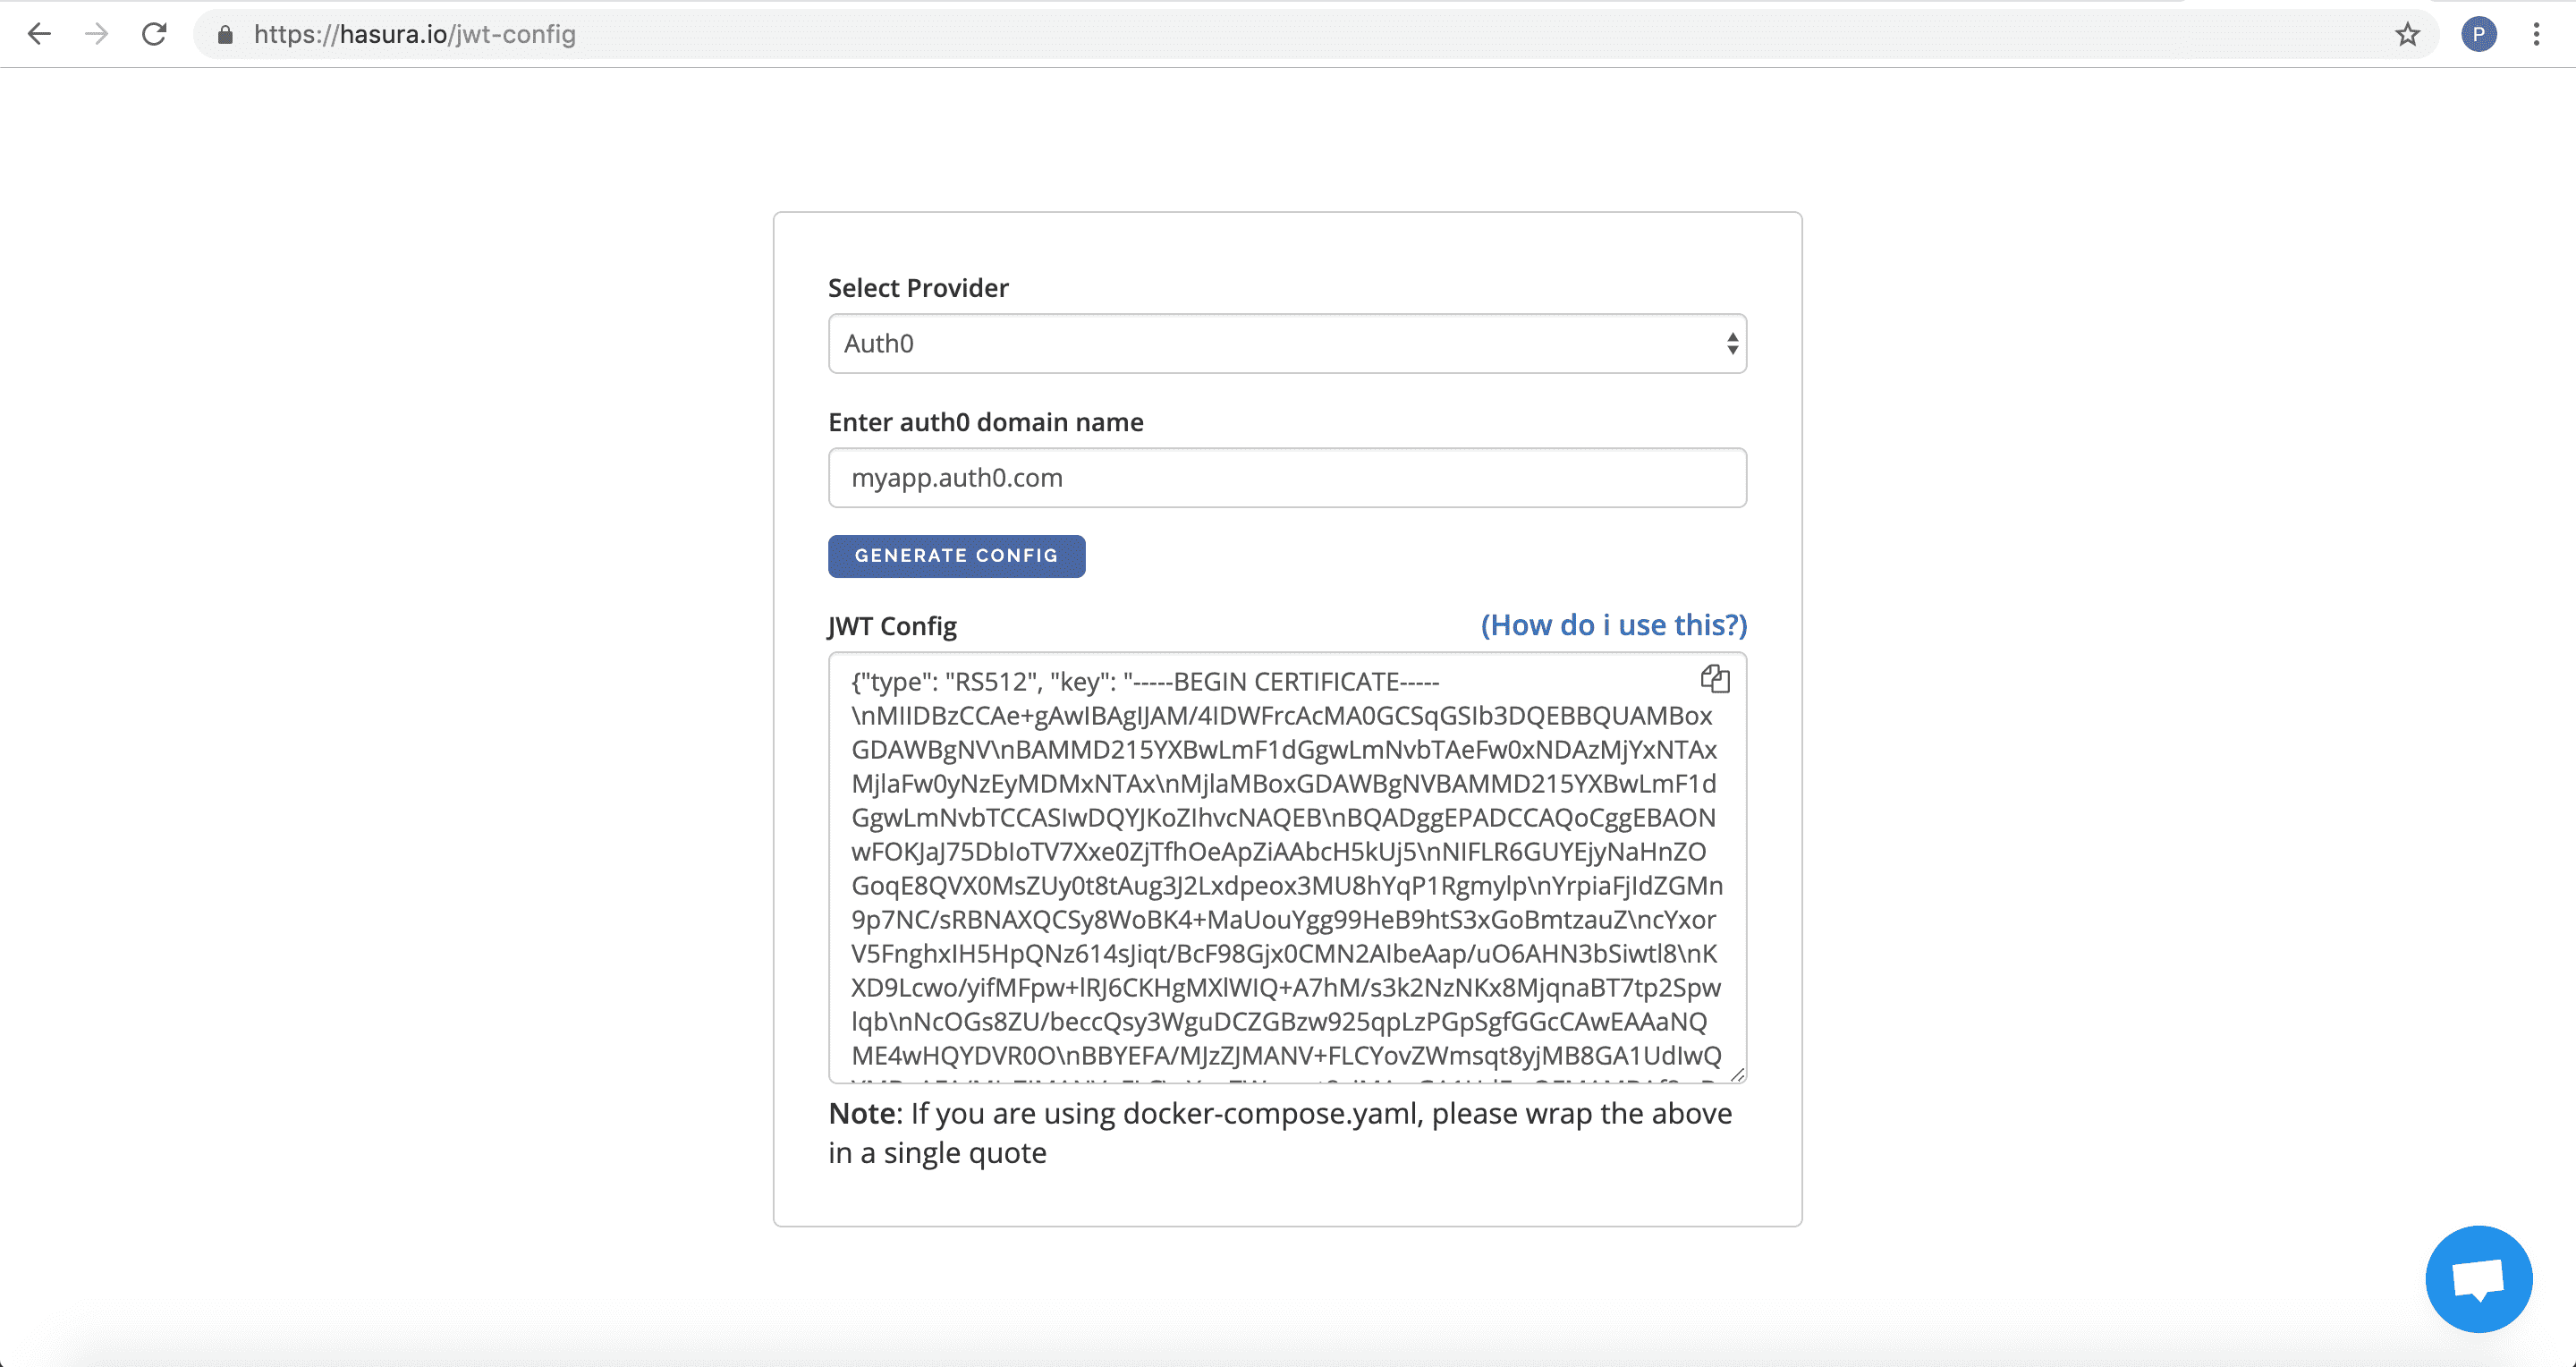
The generated configuration can be used as the value for environment variable HASURA_GRAPHQL_JWT_SECRET.
Since we have deployed Hasura GraphQL Engine on Heroku, let's head to Heroku dashboard to configure the admin secret and JWT secret.
Open the "Settings" page for your Heroku app, add a new Config Var called HASURA_GRAPHQL_JWT_SECRET, and copy and paste the generate JWT configuration into the value box.
Next, create a new Config Var called HASURA_GRAPHQL_ADMIN_SECRET and enter a secret key to protect the GraphQL endpoint. (Imagine this as the password to your GraphQL server).
You should end up with something like the following:

Great! Now your Hasura GraphQL Engine is secured using Auth0.
Views
-- Example from the Hasura tutorial
CREATE OR REPLACE VIEW "public"."online_users" AS
 SELECT users.id,
    users.last_seen
   FROM users
  WHERE (users.last_seen >= (now() - '00:00:30'::interval));
2
3
4
5
6